Hey everybody! How's it going today? I'm attempting a new feature here on the blog called "Tutorial Thursday". That's right, every week on Thursday, I'll be bringing you a tutorial or page walk through or something of the sort.
Today's tutorial is my first one ever, so please bear with me!
I do not have fancy photo editing software. So, when I want to shrink photos down for printing purposes, I make use of Microsoft Word!
Firstly, I do not claim to be the end all know all of this process. This is just works for me! I started by choosing my six photos. I picked six pictures from my niece's second birthday that I thought really highlighted the events of her party.
The next part was a little tedious and if you have a better way of doing this, PLEASE share it with me! The pictures had originally been taken with my digital camera. Well, I'm pretty much obsessed with Instagram and wanted to use one of their filters on these pictures. First, I cropped each picture down so it was roughly square shaped. Next, I emailed the photos to myself. Then I opened them on my email via my IPhone. I saved each photo on my phone, then went to Instagram where I opened them back up and applied the filters before taking them and saving them from my phone and back onto my computer. A bit ridiculous, but I liked the effect I got. And I do realize I could probably accomplish the same thing with a good photo editing program, so if you know of any that are great and FREE, please pass them along!
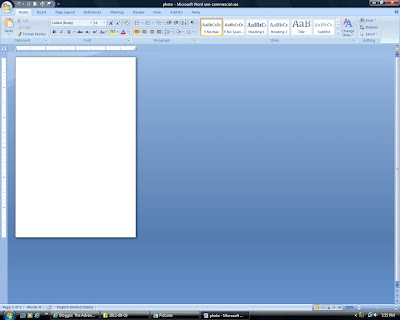 |
| Once I had my photos saved back to my computer, I opened up Microsoft Word. I have a dummy file saved there that I've titled "Photo" and all it is is a blank 4x6 page. |
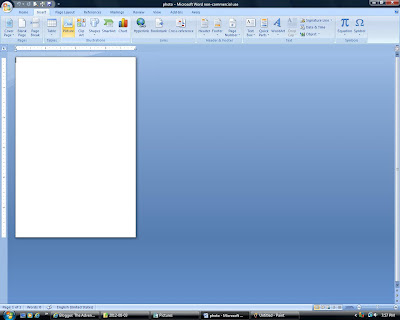 |
| I wanted to print these photos together on one 4x6 sheet. To do this, I clicked the "Insert" tab, then picture. |
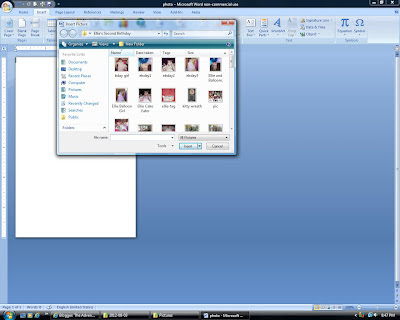 |
| This will bring up the file box (I'm not sure that's the actual name of it, but that's what I like to call it!) Here you choose your first picture |
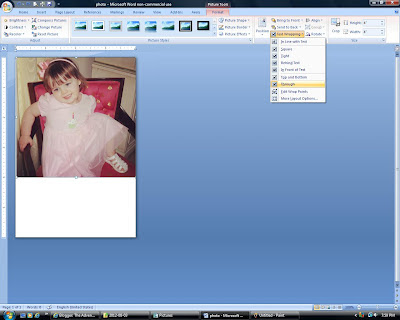 |
| Once you have your picture, you're going to want to be able to move it around without it getting lost behind other photos you add or without it getting cut off. So from the Picture Tools menu (which should come up automatically when you add your photo and is highlighted in pink at the top of the Word screen), you will need to choose the "Text Wrapping" option and pick "Through" from that pull down menu. |
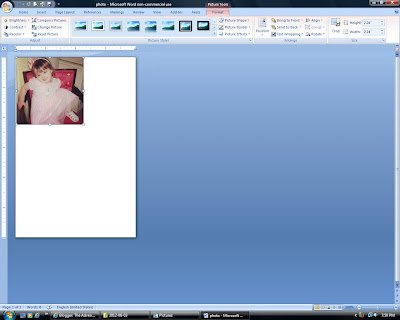 |
| Now you are able to resize and manipulate your photo in order to place it where you like. You can see, I am aiming for a 2x2 inch square for each photo that I will include. |
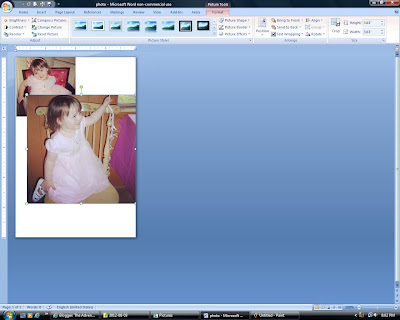 |
| Keep adding your photos following the previous steps. Don't forget to change the "Text Wrapping" option so that your photos can be placed where you like. |
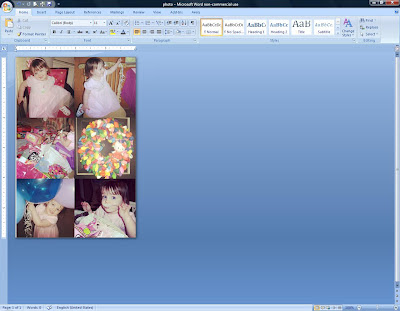 |
| Once all of your photos are resized and repositioned, you will have something resembling this. You can always shrink your photos further, or choose a larger print surface if you would like to leave some white space between each picture. |
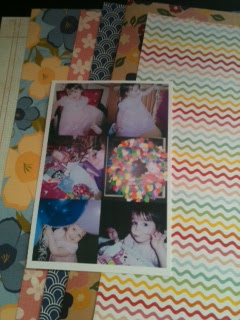 |
| Here's my printed photo. As you can see, I left a white border around the edge. Now it's time to pick my papers and put my layout together! |
And here's the final layout!
Turning Two
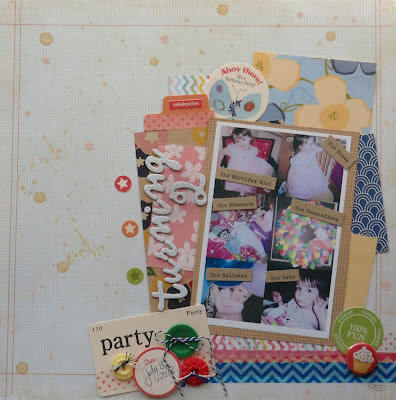 |
| This layout was so much fun!!! I pulled some old Chatterbox papers out of my stash and paired them with papers from Crate Paper and Pebbles, as well as a few embellishments from October Afternoon's Cake Walk line. I started out by adding some spray mist to my background page. |
 |
| I added some washi tape to this party card from the Cake Walk Miscellany Pack |
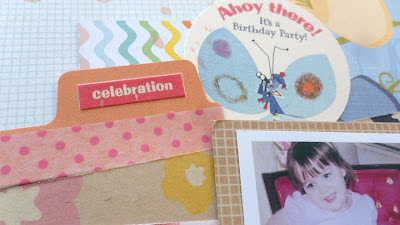 |
| More of the same washi tape on the tab and a "celebration" sticker. |
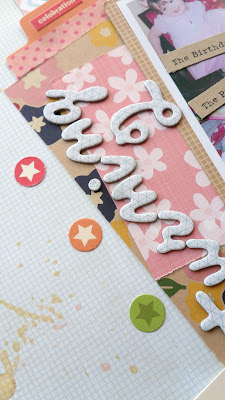 |
| My title runs sideways alongside the photos. I used these great Thickers from American Crafts. I added these star circle die cuts from the Miscellany pack as well. |
 |
Another sticker from Cake Walk as well as a piece of flare to finish it all off.
|
Supplies: patterned paper -
Pebbles, Crate Paper, Chatterbox; stickers, flair, die cuts, buttons, spray ink -
October Afternoon; twine -
Jillibean Soup; Iwashi tape -
Bazzill, Cosmo Cricket, Bella Boulevard; photo and text editing software -
Instagram and Microsoft Word 2007
Thanks so much for reading and commenting, everyone! I hope you enjoyed my very first tutorial. If there's anything you think I could do to improve future tutorials, or have suggestions or requests for future tutorials, please feel free to email me or leave a comment.


Great idea. The only way I have done this is at Walgreens. Thanks for sharing. Super looking layout.
ReplyDeleteI will never be able to do that sort of thing, you make it look so easy but my computer skills are horrible:)
ReplyDeleteThanks for the tutorial!
ReplyDelete