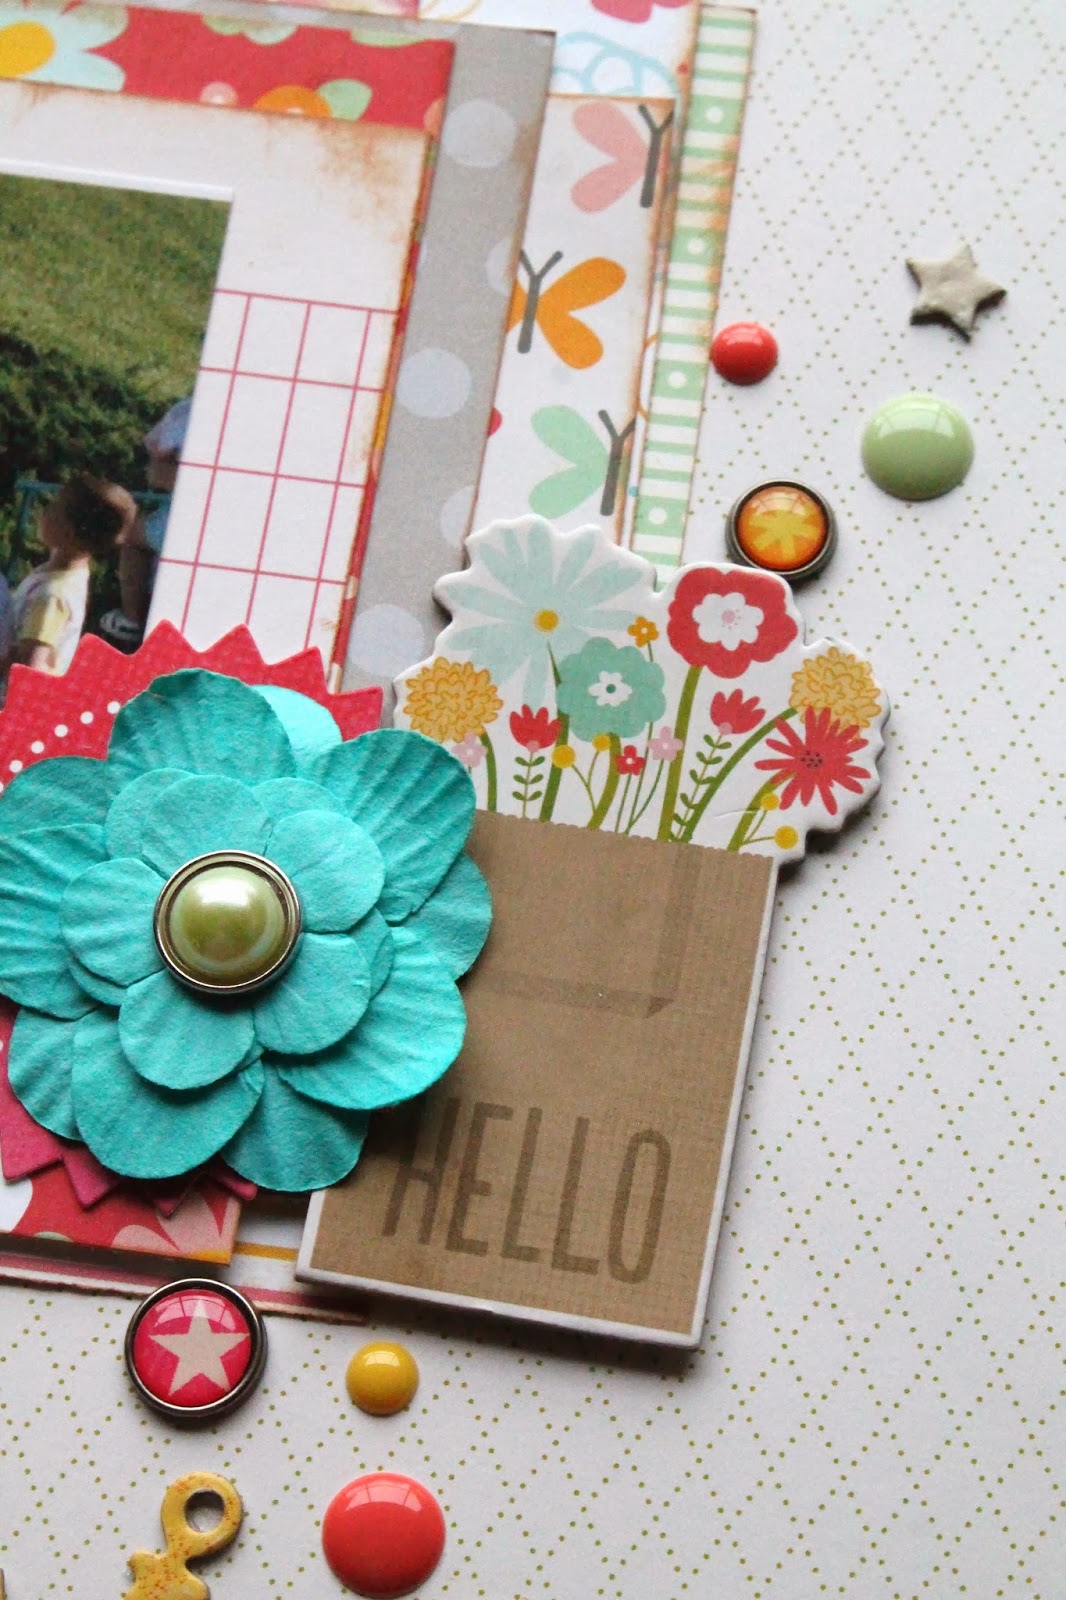
Showing posts with label A Flair For Buttons. Show all posts

Tuesday, December 10, 2013

Daisy & Donald

We got to Disney's Hollywood Studios pretty early before opening this particular day.  We were waiting in line and many of the characters appeared to entertain the masses before the park opened.  Ellie didn't get her photo with Daisy and Donald, but I did get a picture of them signing autographs for a random collection of children!


Supplies:  patterned paper - Echo Park, My Mind's Eye, Pebbles;  chipboard - American Crafts, Pebbles; flower & bow - Crate Paper; brads - My Mind's Eye;  flair - A Flair For Badges; die cuts - Pink Paislee; enamel dots - My Mind's Eye;  letter stickers - American Crafts

Monday, March 11, 2013


Hey all!  This week is my Spring Break and I'm super excited to get some rest after battling a crazy cold all this past week.

Here's my first layout created with my March DIY kit!

You and Me

My favorite Instagramed photo and me with my little niece!  I added some splatters and a big arrow that I cut out with my Cricut.


Supplies:  patterned paper - Echo Park, Jillibean Soup, Pebbles; Cricut cartridge - Graphically Speaking; flair - A Flair for Buttons; buttons - October Afternoon; letter stickers - Basic Grey, Studio Calico; stickers - October Afternoon; garland - My Mind's Eye; other - wood veneer, spray mist
 

Please check back in next Monday for my next Kit It Together project.  As always, thanks for stopping by!

Tuesday, December 18, 2012

...And Two More

So I started a trend yesterday, I guess, because I'm back today with two more related-to-each-other layouts.  I was once criticized either here or on some other public forum for scrapbooking ALL my pictures and told that I'd be scrapbooking forever if I felt the need to scrap all my pictures.  Well...so?  Scrapbooking is as much, if not more so, about the creative outlet for me as it is about the memory preservation.  So while knowing I have hundreds upon hundreds of photos left to scrap is rather daunting, it's also comforting knowing I'll never run out of projects.

So I say all that to say this....I have two recent layouts from our vacation in Killarney National Park in the summer of 2011 from a viewpoint called "Ladies View".  One is simply the lovely views, while another is of Lisa being silly and hiding behind a sign, while her hands grasp it from the other side. 

So without further ado...

Ladies View


I'm really enjoying looking at pages that have this muted, soft color scheme.  I very rarely am able to pull it off, but love how this came together with just a few splashes of bright blue and red.


I don't think I'll ever tire of wood grain and chevron...


I love all the vellum die cuts that Studio Calico has been including in their kits. I layered a bunch of these awesome arrows and stapled them to my page. 


Supplies:  patterned paper - Basic Grey, Echo Park, Kesi'Art, Studio Calico; letter stickers - American Crafts, Basic Grey; wood veneer, stamps & vellum die cuts - Studio Calico; flair badge -  A Flair For Buttons; date stamp - K and Co.; tape - Freckled Fawn

Hands

Here Lisa showcases her nuttiness, hiding behind this huge lookout sign and allowing her hands to peek over the top.  Which from the photo of the layout, you can barely make out!


I loved using a bunch of October Afternoon's Farm Girl line on this layout - from paper to washi tape to letter stickers.


 A few pieces of October Afternoon doo-dads and another awesome die cut from Evalicious. 


More of my beloved Studio Calico wood veneer in the top right corner here, tons of washi and some stamping.  My stamps, sadly, see so little use!

 
A tag, a flower die cut from an older October Afternoon line and a vintage bottle cap from Jenni Bowlin.


Supplies:  patterned paper - October Afternoon; die cuts - Evalicious, October Afternoon; bottle cap - Jenni Bowlin; tapes - Freckled Fawn, October Afternoon; letter stickers - October Afternoon; stamps - Studio Calico; wood veneer - Studio Calico; other - tag, ribbon

Thanks so much for stopping by!

Monday, December 17, 2012

Fake Tattoos

In the olden days of my blogdom (just over a year ago now), I would randomly through a variety layouts up here in one post and leave a few little comments and be done with it.  Well, as my blogging style has matured ever so slightly, I like to zoom in on one specific layout and the inspiration or design therein.  However, I'm going to break from that today in order to showcase TWO...that's right, TWO layouts that I absolutely love. 
I had a bunch of photos I took this past summer when visiting my girlfriend in Ireland of a particular evening when we were just hanging out and for some reason I got a bee in my bonnet to tattoo her and give her a sleeve.  Okay, so I'm not a tattoo artist, nor did I have any tattooing equipment on my person...and frankly, I can't draw to save my life....but I am persistent!  and stubborn!  So I took a handy ball point pen and went to work.  And you know...I have to say, I'm very impressed with the fruits of my labor.  No....impressed doesn't go far enough.  STARTLED....completely startled at my fake tattooing prowess.  (I'm lying).

I Am the Most Amazing Fake Tattoo Artist EVER!

A layout created specifically to brag about my mad (fake) tattooing skills.  That skull and crossbones are pretty badass, dontcha think?


A washi border, some splatters, some awesome retro stickers...what more could a girl want?


I'm pretty obsessed with these chipboard alphas we've been getting in the Studio Calico kits lately.  They are made by Basic Grey and they are totally wicked.  Love them!  I also thought this little boy button looked cute here.  I have one niece, a sister, a mom, a girlfriend, and all the men in my current life are adults, so I thought this use of it was pretty apt!

 
It's taken me awhile to jump on the speech bubble train, but I've been using them a ton as of late!

 
Love wood veneers and love glassine bags from Whisker Graphics. 
 
Supplies:  patterned paper - Studio Calico; die cuts, wood veneer, stickers, mists - Studio Calico; brad - Jenni Bowlin; glassine bag - Whisker Graphics; ribbon - The Girls Paperie; letter stickers - Basic Grey, Jenni Bowlin; tape - Freckled Fawn; other - tag


Ink

...And I had some more photos that really needed a scrapbook home, so I created this one focusing slightly more on Lisa and how good she looks with tatts.  hehe

 
More Studio Calico wood veneers, some Soho Garden Paper from AC and Sasparilla from OA!

 
Evalicious is one of my new favorite brands:  the "Love this" tag.


Supplies: patterned paper - American Crafts, October Afternoon; tapes - Cosmo Cricket, Freckled Fawn, October Afternoon, Studio Calico; wood veneer - Studio Calico; flair badge - A Flair For Buttons; die cuts - Evalicious, October Afternoon; envelope - Basic Grey; spray inks - Studio Calico; letter stickers - American Crafts

Thanks for reading!

Sunday, December 16, 2012

Sketches With Color Challenge #4

Hi all!  I'm here today with the Sketches With Color mid-December challenge! 

Here is our color combo and sketch for Challenge #4:


And here's my take:

Taking a Break

These photos are from a 2010 fall trip that Lisa and I made to the Fort Worth Zoo, bringing along a then 4-month old, Ellie!  We had fun and I know E's favorite part of the trip was staring at the trees that passed above her as we strolled along and she reclined in her stroller!  I had some sweet vintage Cosmo Cricket (circa 2005) die cuts that fit in really nicely with this color scheme!


Supplies:  patterned paper - Echo Park, Heidi Swapp, Lily Bee Designs, October Afternoon, Simple Stories, Studio Calico; letter stickers - American Crafts; flair badge - A Flair for Buttons; die cuts - Cosmo Cricket, Crate Paper, October Afternoon, Studio Calico; wood veneer - Studio Calico; punch - American Crafts Knock-Outs

Thanks so much for reading!

Monday, November 5, 2012

A Week of Disney World

Hellloooo!  It's Monday, a brand new week and I've decided to make this A WEEK OF DISNEY WORLD!  (all caps used so that you might read that in an echoy announcer man's voice a la "Pigs in Space" from the Muppets.)

I've been working a lot on my family's 2008 trip to the World, so have several layouts that I'm really pleased with and want to share!

Sisters in Canada

I had to try out the new Studio Calico 12x12 starburst mask.  I used a spray ink by October Afternoon with the mask and to me, anyway, the OA sprays go on a little thicker than Mister Huey's do.  I used it on a sheet of vanilla cardstock and the effect was almost like it was printed that way.  Super cool!

 
I was trying to figure out a way to step it up a bit and decided slicing up strips of paper to outline the bursts would be the way to go.  I wasn't really sure how it would turn out, but really LOVE the effect!  I layered different pieces of OA's Midway behind my photo.


I love the Midway collection by October Afternoon and used a few different embellishments to complete this layout.  I pulled out my handy Fiskars scallop punch to make several elements with the patterned paper to layer in with other pieces.


I also pulled in this little flag from Basic Grey's Soleil collection.  Love it!
 
Supplies:  patterned paper, brads, washi tape, tickets, journaling spot, tab, spray ink - October Afternoon; flair button -  A Flair For Buttons; letter stickers - American Crafts, October Afternoon; mask - Studio Calico; scallop punch - Fiskars
 
Thanks so much for looking!